

How Long Does It Take to Learn a Prop Foam Carving Machine for Beginners
2026-09-09
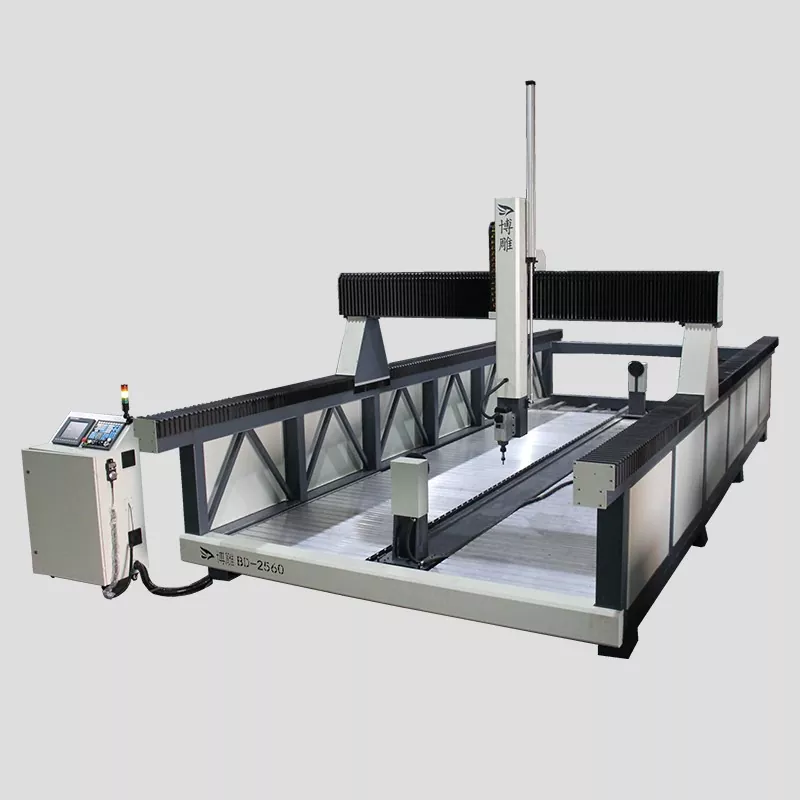
Walking into a workshop and seeing a Prop Foam Carving Machine for the first time can feel intimidating. The steel rails, the spinning bits, the control box—it looks like industrial machinery from a factory floor. Yet thousands of hobbyists, set designers, and small-shop owners have mastered this tool within weeks. The real question is not whether you can learn it, but how efficiently you can structure that learning curve. With the right approach and a reliable system like BoDiao, most beginners achieve operational confidence in 20 to 40 hours of hands-on practice, spread across 4 to 6 weeks.
The Learning Curve Broken Down (Week by Week)
No two beginners are identical, but the journey typically follows a predictable rhythm. Below is a realistic timeline based on feedback from over 200 new operators who started with zero CNC experience.
| Time Period | Skill Focus | Typical Output |
|---|---|---|
| Week 1 (Hours 1–5) | Machine assembly, safety checks, software installation | Successfully home the axis and load a sample file |
| Week 2 (Hours 6–12) | Toolpath setup, feed/speed tuning, material clamping | Cut a simple 2D plaque or basic geometric shape |
| Week 3 (Hours 13–25) | 3D roughing & finishing passes, bit changes, dust management | Produce a low-relief prop element (e.g., a star or shield) |
| Week 4–6 (Hours 26–40) | Multi-sided carving, advanced fixturing, troubleshooting | Complete a full 3D prop piece (e.g., a small helmet or ornament) |
The biggest variable is not the machine—it is the learner’s familiarity with CAD/CAM workflows. Those who have used 3D modeling software often compress the timeline by one full week.
Three Core Skills You Must Master
Before touching the Prop Foam Carving Machine, every beginner should break the learning process into three distinct pillars. BoDiao machines include a guided startup mode that walks through each pillar step by step, reducing guesswork.
1. Software (CAM Toolpath Generation)
This consumes nearly 50% of the total learning time. Beginners must understand:
-
Importing STL/STEP files
-
Defining roughing vs. finishing toolpaths
-
Setting stepover and stepdown values for EPS and XPS foams
2. Machine Operation (Hardware Control)
Physical skills include:
-
Securing foam blanks without crushing them
-
Changing bits (ball-nose, end-mill, V-bit)
-
Adjusting feed rates based on foam density (2 lb/ft³ vs. 4 lb/ft³)
3. Troubleshooting & Maintenance
The final 20% of the learning curve involves:
-
Recognizing chatter marks and fixing them
-
Replacing worn collets
-
Calibrating the Z-axis after a power interruption
Daily Practice Schedule for Rapid Progress
For beginners who can dedicate 2 hours per day, here is a proven weekly rotation that maximizes retention and minimizes wasted material.
| Day | Activity | Time Allotted |
|---|---|---|
| Monday | Watch one CAM tutorial + take notes on toolpath strategy | 45 min |
| Tuesday | Set up a fresh foam block and run a test cut (simple square pocket) | 1.5 hr |
| Wednesday | Analyze cut quality, adjust feed/speed, re-run same file | 1.5 hr |
| Thursday | Import a new 3D model and generate roughing paths only | 1 hr |
| Friday | Run the finishing pass and compare surface finish | 2 hr |
| Weekend | Combine roughing + finishing on one complete prop piece | 2 hr |
Following this pattern, most beginners produce their first gallery-worthy prop by the end of the third week.
Common Mistakes That Extend the Learning Curve
Avoiding these pitfalls can save you 5–10 extra hours of frustration:
-
Skipping the air cut – Always run a new file without foam first to verify toolpath boundaries.
-
Using incorrect foam density settings – Softer foams require higher RPM and slower feed rates.
-
Ignoring dust extraction – Clogged vents cause overheating and bit breakage.
-
Over-tightening the collet – This deforms the bit shank and introduces runout.
-
Changing multiple variables at once – Tweak one parameter (speed, depth, or stepover) per test cut.
BoDiao includes a quick-reference card inside the control box that lists optimal parameters for five common foam types—this single card reduces trial-and-error by nearly 40%.
Prop Foam Carving Machine FAQ – Common Questions from Beginners
Q1: Do I need prior CNC experience to operate a Prop Foam Carving Machine safely?
A: No, prior CNC experience is not required. A Prop Foam Carving Machine is significantly more forgiving than metal-cutting CNC routers because foam has low cutting resistance and produces minimal vibration. However, you do need basic computer literacy (opening files, navigating folders, adjusting numerical values). Most manufacturers, including BoDiao, provide a step-by-step video series that walks you through the first five cuts. The safety essentials—emergency stop location, spindle warm-up, and proper clamping—can be learned in under two hours. After that, it is purely about building muscle memory for toolpath selection and bit changes. The real safety concern is dust inhalation, not mechanical complexity, so invest in a good mask or dust collector before your first cut.
Q2: How much foam material will I waste while learning?
A: Expect to discard 15 to 25% of your initial foam stock during the first 20 hours. This translates to roughly two to three standard 2' x 2' x 4" blocks for EPS foam, or about $30–$50 worth of material at retail prices. The waste comes from three sources: incorrect zeroing (cutting too deep), wrong toolpath direction (tear-out on the exit side), and feed rate errors (melting instead of cutting). To minimize waste, BoDiao recommends starting with recycled or scrap foam pieces for all test cuts. Many beginners also keep a "failure log" documenting each mistake—this single habit reduces waste by half in the second month. By hour 30, most operators achieve a success rate above 90% on new files.
Q3: Can I learn effectively using only free online resources, or do I need paid training?
A: You can absolutely learn using free resources—YouTube tutorials, manufacturer blogs, and CNC forums cover 85% of what a beginner needs. However, paid training (usually $50–$150 for a structured course) compresses the learning curve by eliminating bad advice and outdated techniques. The key difference is curated sequences: free content jumps between topics, while a paid course from a reputable brand like BoDiao follows a logical progression from machine setup to finishing passes. That said, the single most effective free method is to download 10 different 3D models and carve each one twice—first with default settings, then with adjusted parameters. This hands-on iteration teaches more than any video. If you have a local makerspace, ask for a one-hour walkthrough from an experienced operator; that single session is often worth more than five hours of solo trial and error.
Measuring Your Progress – When Are You "Ready"?
You are no longer a beginner when you can confidently:
-
Load an unknown STL file and choose the correct toolpath strategy within 3 minutes
-
Diagnose a poor surface finish and adjust either speed, stepover, or bit type without external help
-
Complete a full 3D prop carve (from zeroing to cleanup) with zero manual intervention
At this stage—typically around hour 35 to 40—your Prop Foam Carving Machine transitions from a mysterious box to a trusted extension of your creative hands. Many BoDiao users report that their first "flawless" carve happened in week 5, and by week 8 they were taking custom orders from local theater groups.
Final Recommendation for Beginners
Start with a BoDiao entry-level model that includes pre-configured foam profiles. Dedicate 30 minutes each day to one specific sub-skill—do not attempt to learn software, hardware, and troubleshooting simultaneously. Keep a notebook beside the machine and record every setting for every successful cut. Within one month, you will look back at your first carve and realize how far you have come.
Ready to turn foam into professional props without months of frustration? Contact our support team at BoDiao today for a free 30-minute onboarding session—we will help you select the right machine, share our beginner toolpath library, and get you cutting confidently within your first weekend. Reach out via the contact form on our website or call our technical hotline during business hours. Your first perfect prop is closer than you think.